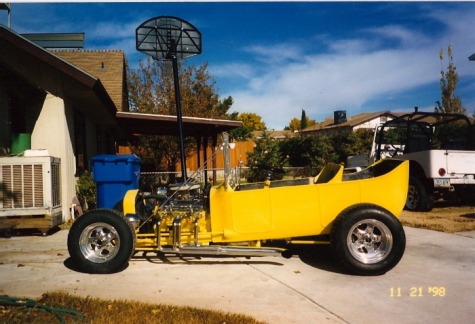
1924 Model T Ford Touring Car, fiberglass
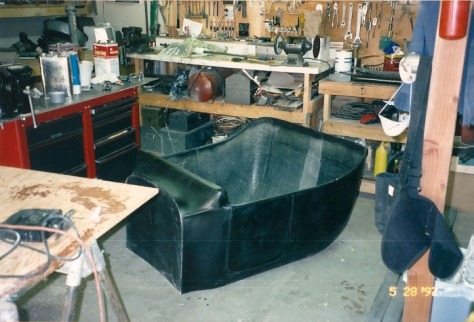
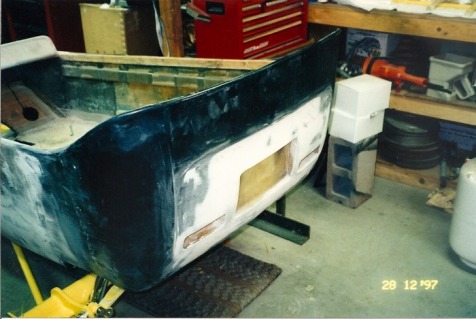
Basic standard 1924 t-bucket roadster before I cut it into two pieces.
Body has been cut behind the door moulding and 1x2 pine has been glassed to the inside of the body with fiberglass bondo - not kitty hair. The opening has been set and adjusted to 30 inches, which is 6 inches shorter than a stock T - touring.
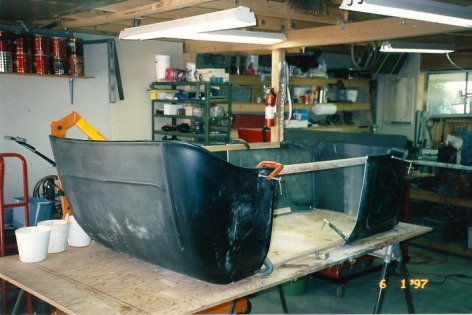
The body was covered with a thin aluminum (20 or 22 ga.sheet steel will also work) and bolted through with 1/4-20-bolts with washers on both sides. Before bolting in place for the last time, place a few sheets of wax paper against the outside of the body and the inside of the aluminum Lay fiberglass mat (3 layers of 1 oz. works the best and is the easiest and fastest) from the inside and overlap the edges by 3 to 4 inches. After the glass has been set, remove the aluminum and wax paper, clean surface with lacquer thinner and fill the 1/4 inch holes and imperfections with fiberglass bondo. Finish with regular bondo.
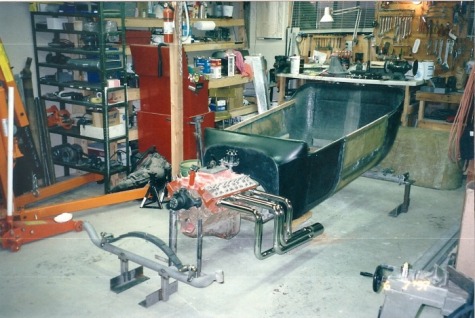
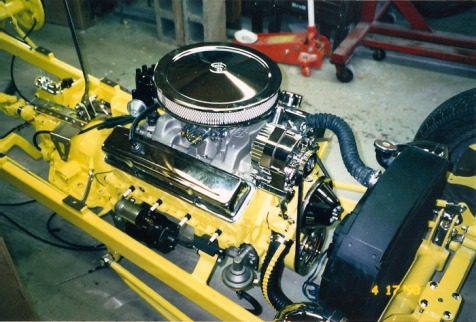
The rest of the photos show one way to mock up for the frame. I don't use this method anymore. I do everything on a plywood table.
Another shot of the frame and rear suspension system.
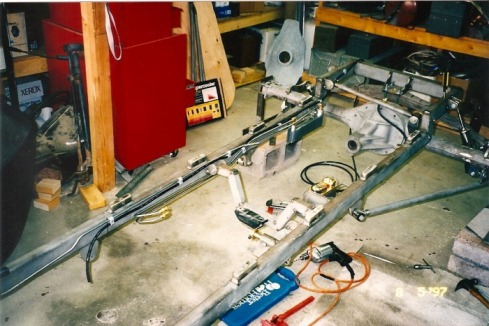
Transmission mount, cooler, trans lines, rear panhand bar, and shock mounts along with the rear spring perch Master cylinder, body mounts and rear wishbones/radius rods shown. In the background the transmission cover, made from fiberglass is also shown. Fuel line and battery cable along with mounting clamps shown too.
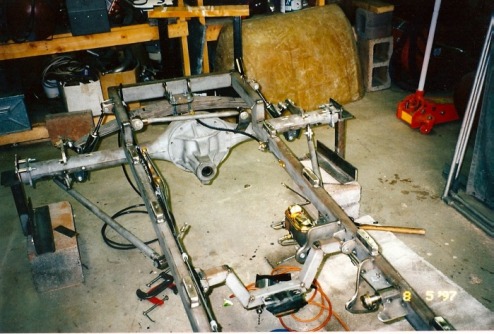
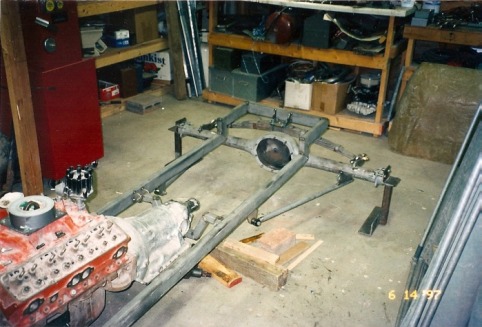
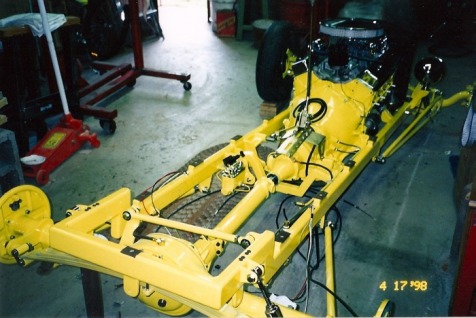
Another shot showing the steering box mount (1938 Ford 2dr. sedan mounted on it's side). This also gives you an idea of how to support the rear end with stands while you build a car. They are quick and easy to fabricate and take very little time and do a great job.

Finish welding and finishing frame and getting ready for primer can be a cumbersome task. This shows the frame with all the brackets set on some tall sawhorses to make it easier on my back to weld, grin, bondo, and sand, fill and prime, sand and fill - you get the idea. Cheap, easy to build, and reusable for the next car. If you make one smaller, thenthey will also stack very nicely. I don't use these anymore. I use two engine type stands made from 1/8th inch steel tubing. I just modify the mount system for whatever frame I am working on at the time.
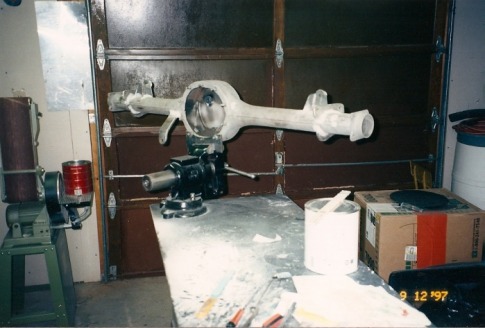
Rear end mounted to a vise using just a 3/8 in. plate with three hole drilled in the plate and mounted to the rear end and clamped to the vise. Easy to weld, grind, prime, etc. For the front axle I used small stands (two piece) one on each end that attach to the kingpin hole and mount like an engine stand thus allowing the axle to rotate and lock to make finish work easier.
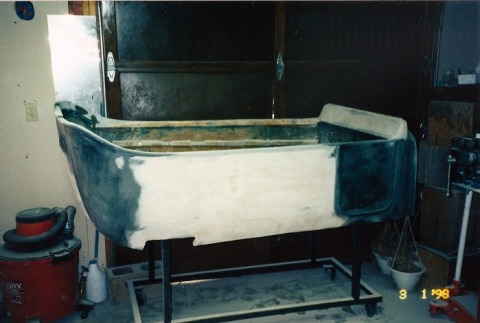
Bondo is used to finish the outside after any rough fiberglass has been removed. Look closely on the drivers side and you will see a sheet metal tunnel fabricated and mounted with fiberglass bondo. This is also found on the passengers side and is used to run the wiring to the front from the fuse box that will be under the rear seat. The rear door moulding is not shown here, but is simple to do. Take 3/16 or 5/16 brake line and bend it to the shape of the door opening you desire. Use a small amount of bondo in three or four places on the body, under the brake line. Push it into the bondo, line it up and secure it with masking tape. Wipe off the excess. After the bondo has kicked, take a bondo spreader and cut it to the shape or contour of the moulding. Cut it so that one side is in contact with the body at all times. Mix up some bondo and spread it along the tubing with a regular spreader - then take the custom spreader and follow the tubing around on the outside and the inside - remove excess, let set, sand and touch up. It really works great and saves a lot of time.
Frenching in tail lights and a license plate frame is also quite easy. Make a wooden mold, paint it with a spray can, put car wax libereally over the mold, lay on 3 layers of 1 oz. matt. When set, remove carefully, clean wax out with lacquer thinner, touch up the part, cut the hole, and glass from the back side - catching the body and the part in an L shape. After this sets, use fiberglass bondo on the outside for any large gaps and finish with regular bondo from there.
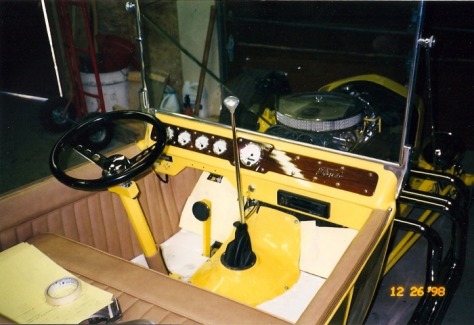
This picture illustrates the final assembly. Be careful and use a chamfering tool in a holder by hand (no power tools with this step) on each side of a hole. After this is done, take a drill bit for that particular hole and use a slow speed and CAREFULLY clean out the hole. Clean all holes prior to any assembly work. This car used a lot of chrome bolts. If this is your choice, plan on about $1000.00 for nuts, bolts, washers, and fittings!!! Another way is to polish the heads with a buffering wheel using white rouge compound, clean, with lacquer thinner, and after assembly - use a small artist brush and paint them with a clear coat. It works!
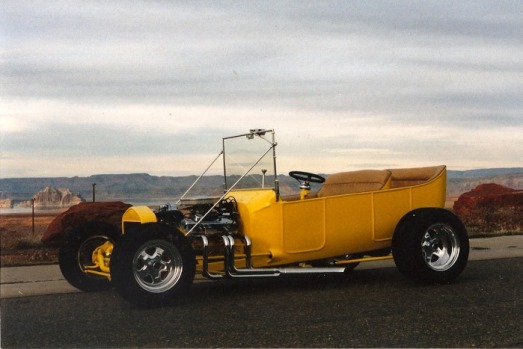
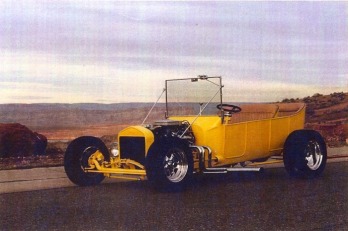
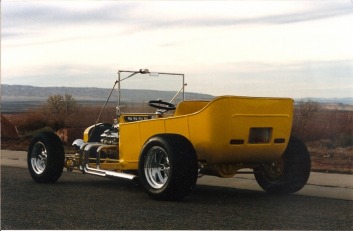
Here is a rear shot showing the final assembly. Some wires are run through the body and some I run through the frame with pre-drilled holes. Try and figure what and where you are going to run ahead of time during the build. Ex: I drill a hole on the inside front rails for the headlight/turn signal wires and an extra hole for the electric fan. This exit hole is drilled behind the firewall in the frame so that the wires exit and then run up to the dash, or can run wherever you want.
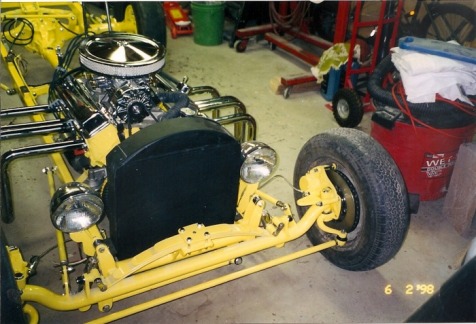
Another final assembly shot showing the suicide front end and also the steering arms to the front. If you run this type of set up, the arms must be heated and bent outward so that the tierod hole and the kingpin center lines will line up with the center of the rear end. This is the Ackerman steering principle. If this is not done, when you turn right - the right wheel won't turn sharp enough and the left wheel will turn too sharp. Both will result in bad handling (steering on turns) and excessive tire wear.

The battery, fuse panel, and some accessories were mounted under the rear seat. Also the battery disconnect and the two speakers. The gas tank is mounted under the front seat. Not much room in the bucket of any size.
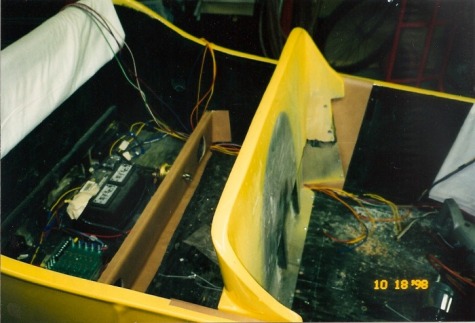
This shows the front seat divider which was formed from 20 ga. sheet metal with a 1x2 piece of pine fiberglassed to the inside and 1/8 inch wooden door plywood (luan plywood) glued and stapled to it along with the same being done to the sides of the body on the inside. This cleans up the mess and allows a place for the upholstery to bee attached.
The car is running and only lacks the upholstery. I did this at home and it was my first upholstery attempt on a hot rod. Some minor mistakes, but cheap!!! Material, foam, and carpet about $125.00. I bought a portable sewing machine for cheap, and kind of taught myself!